 Customize Form Text (Traps)
Customize Form Text (Traps)
Use this tab to customize the forms generated for records relevant to this module. These forms are printable via the 'Print Forms' button for the Traps Usage Record.
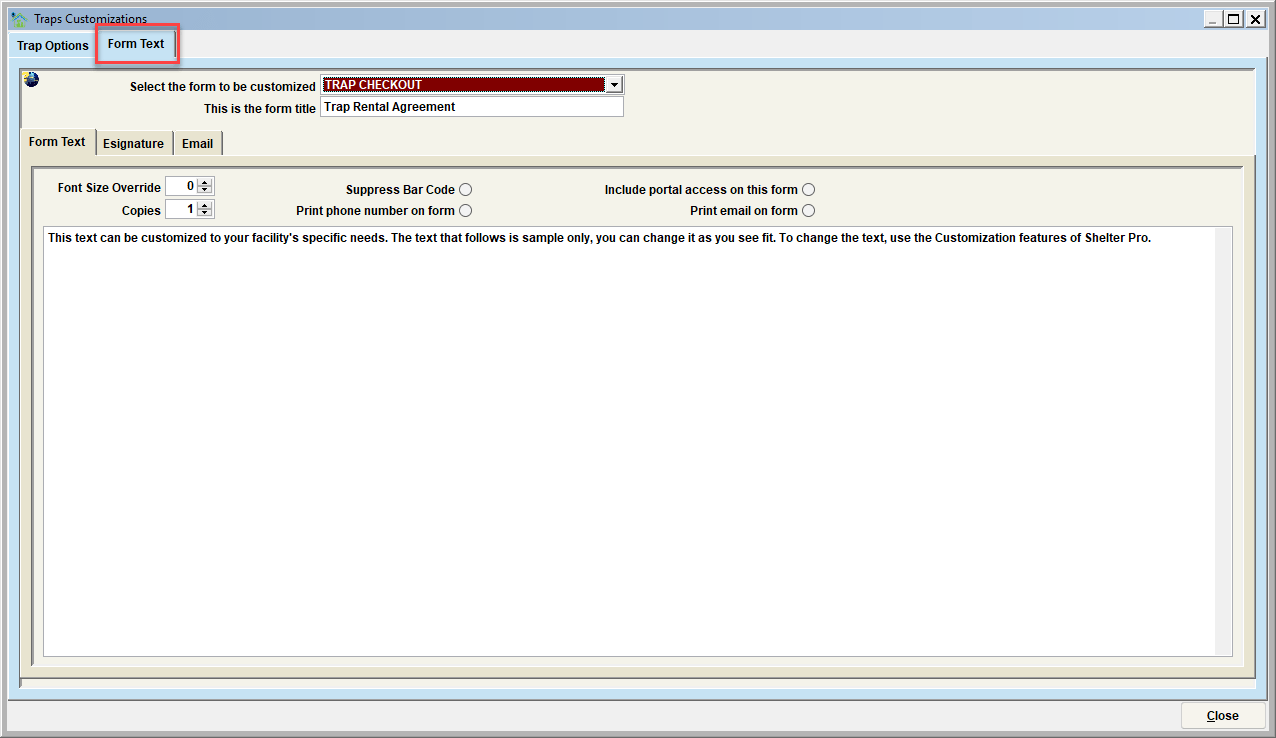
The Form Text tab
Select the form to be customized
Choose the form to be defined. The forms defined here include these.
| Form | Description |
|---|---|
| Trap Check Out | This is a definable form that is typically used be the Organization as an agreement and consent form regarding Trap rentals. The Organization can include a detailed list of agreement terms and fields for the renter to provide their consent and understanding of the rental terms. |
| Trap Return | This is a definable form that is typically used by the Organization as an acknowledgement for trap return confirmations. |
Tip - Note that these are not the only available forms in Shelter Pro. Each of the modules has module-specific forms which can also be customized. See the various other 'Customize' topics for the other modules for more information.
Form title
Set the form title that will print on this form.
Tip - set the form title to blank to suppress a form from the selection of available forms that a user can select and print. Form titles can be case-sensitive.
Font size override
Set the font size for the print of the form. Hint - setting this to zero (0) will cause the form to use the 'default' font size for all forms. The default font size is defined on CUSTOMIZE/GENERAL INFORMATION/FORMS. If overriding the font size on a particular form, the available options are 8, 9, or 10.
Copies
When this form is printed, this is the number of copies that will be generated. This is used when a user selects the 'Print' option on the various 'Print Forms' screens. Also, note that a user can use the 'Print Override' option on 'Print Forms' screens to change the number of copies that are printed.
Form text
This defines the text that will be printed in the 'body' of the form when printed.
Suppress bar code
If barcoding is enabled via CUSTOMIZE/GENERAL INFORMATION/FORMS, use this switch to disable the printing of a bar code for a particular form.
Print phone number on form
If a form is selected that includes a person's name and address, this switch determines if the person's phone number(s) also print.
Print email on form
If a form is selected that includes a person's name and address, this switch determines if the person's email address will also print.
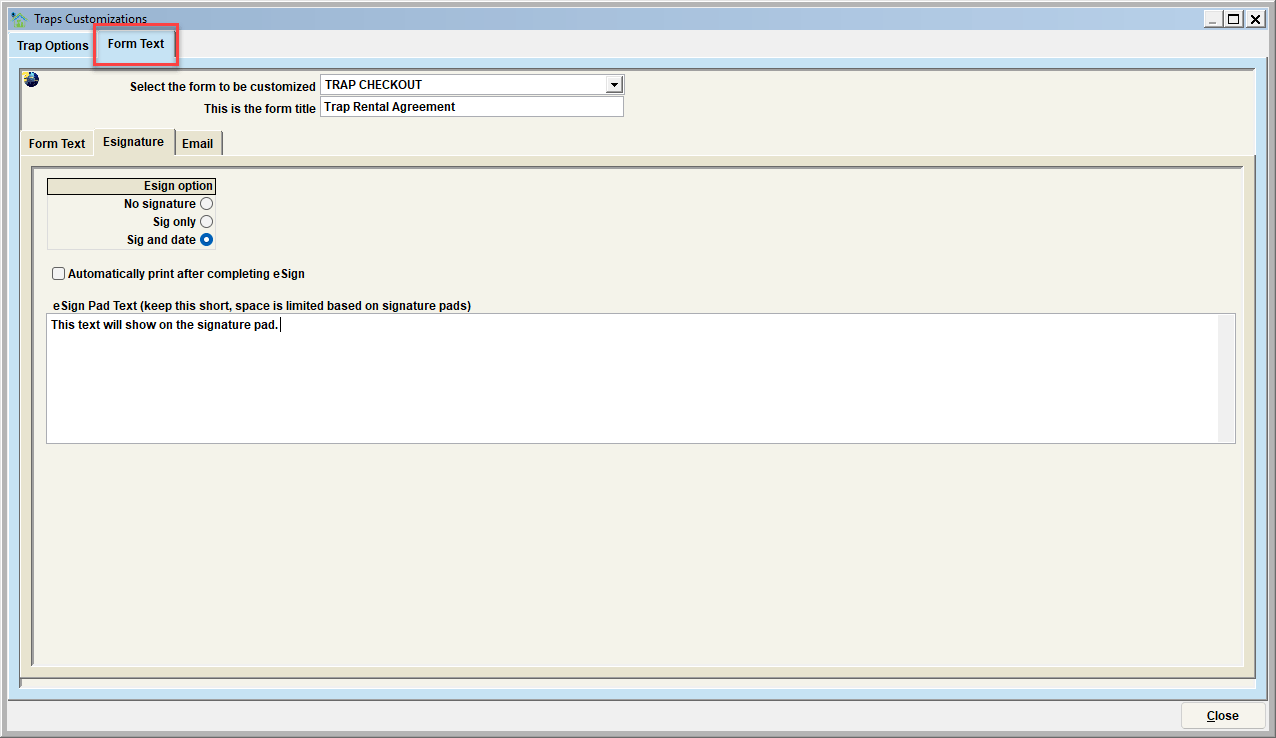
The Esignature tab
This tab defines the features that are specific for forms in Shelter Pro where eSignature functionality is supported.
Tip - for an overview of eSignature functionality, including which forms support eSign, see eSignature.
Esign option
- No signature - this option disables eSignature for the selected form.
- Sig only - this option only shows a space for the signature line on the eSign device (no date is shown). The signer will provide their electronic signature in this space.
- Sig and Date - this option show a signature and date space on the eSign device. The signer will provide their electronic signature and enter the current date in this space.
Automatically print after completing eSign
After a person completes an eSign form, and the signature is accepted by the user, the eSigned form will be automatically printed. This is commonly used if a printed copy of the eSigned form would be given to the person/signer.
eSign Pad Text
This is the text a person/signer will see on the eSign device when prompted for eSignature.
The Email tab
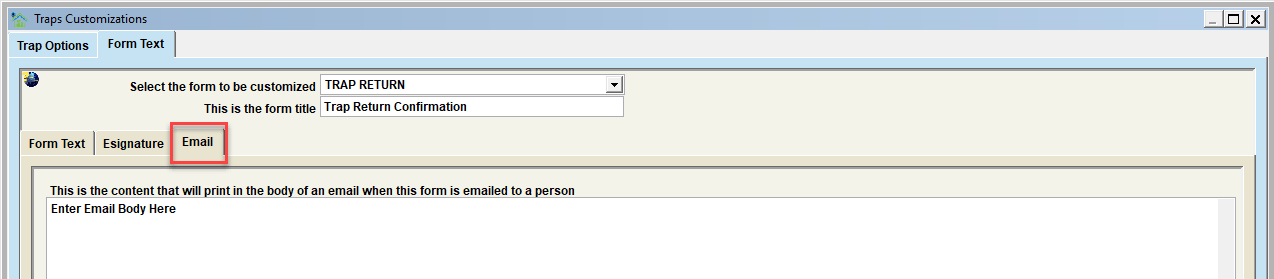
This is the content that will print in the body of an email when this form is emailed to a person.
Enter the email message, purpose, instructions, etc in this box. The recipient will see this content when the email is opened. Note that the form itself will be a pdf/file attachment the person will receive. For more details on how Shelter Pro handles the sending of email, see Email.
Next Topic
Customize - Accounting Module
Comment or report problem with topic